1999 Jeep Grand Cherokee Lift Kit: Elevating Your WJ’s Capabilities
1999 Jeep Grand Cherokee Lift Kit: Elevating Your WJ’s Capabilities jeeps.truckstrend.com
The 1999 Jeep Grand Cherokee, affectionately known by its chassis code WJ, holds a special place in the hearts of off-road enthusiasts and daily drivers alike. Known for its comfortable unibody construction, reliable powertrains, and all-coil suspension, the WJ offers a unique blend of on-road refinement and surprising off-road prowess right from the factory. However, for those looking to truly unleash its potential, overcome challenging terrain, or simply achieve a more aggressive stance, a 1999 Jeep Grand Cherokee lift kit is an indispensable upgrade.
A lift kit, in essence, is a modification that increases the vehicle’s ground clearance by raising its body and/or suspension. For the 1999 Grand Cherokee, this transformation goes beyond mere aesthetics; it unlocks the ability to clear larger obstacles, accommodate bigger tires, and significantly enhance articulation and overall off-road performance. This comprehensive guide will delve into everything you need to know about selecting, installing, and enjoying a lift kit for your beloved WJ.
1999 Jeep Grand Cherokee Lift Kit: Elevating Your WJ’s Capabilities
The Enduring Appeal of the 1999 Jeep Grand Cherokee (WJ)
Before diving into lift kits, it’s worth appreciating why the WJ remains such a popular platform for modification. Unlike its leaf-sprung predecessors, the WJ featured a groundbreaking coil-spring setup on all four corners, providing a more comfortable ride and superior articulation. Coupled with robust axle options (Dana 30 front, Dana 35c or Dana 44a rear, and eventually the stronger Dana 44 HD), Quadra-Trac II and Quadra-Drive transfer cases, and reliable 4.0L I6 or 4.7L V8 engines, the WJ offers a potent foundation. A lift kit capitalizes on these inherent strengths, pushing the boundaries of what this capable SUV can achieve.
Why Lift Your 1999 Grand Cherokee? Unlocking Its Full Potential
The decision to lift your WJ is driven by a combination of practical benefits and aesthetic desires:
- Increased Ground Clearance: This is the most obvious advantage. By raising the chassis, your WJ can clear larger rocks, logs, and other trail obstacles without damaging critical undercarriage components like differentials, exhaust, or fuel tanks.
- Larger Tire Accommodation: Stock WJs are limited to around 29-30-inch tires. A lift kit allows for the installation of larger, more aggressive off-road tires (31-inch, 32-inch, or even 33-inch and beyond). Bigger tires further increase ground clearance and provide superior traction in challenging conditions like mud, snow, and rocks.
- Improved Approach, Departure, and Breakover Angles: These are critical metrics for off-roading. A lift kit increases the angles at which your vehicle can approach an obstacle, climb over a peak, or descend a steep incline without scraping the bumpers or underbody.
- Enhanced Off-Road Performance & Articulation: With longer coil springs and properly matched shocks, a lifted WJ can achieve greater wheel travel and articulation. This means the tires stay in contact with uneven terrain for longer, maintaining traction and stability.
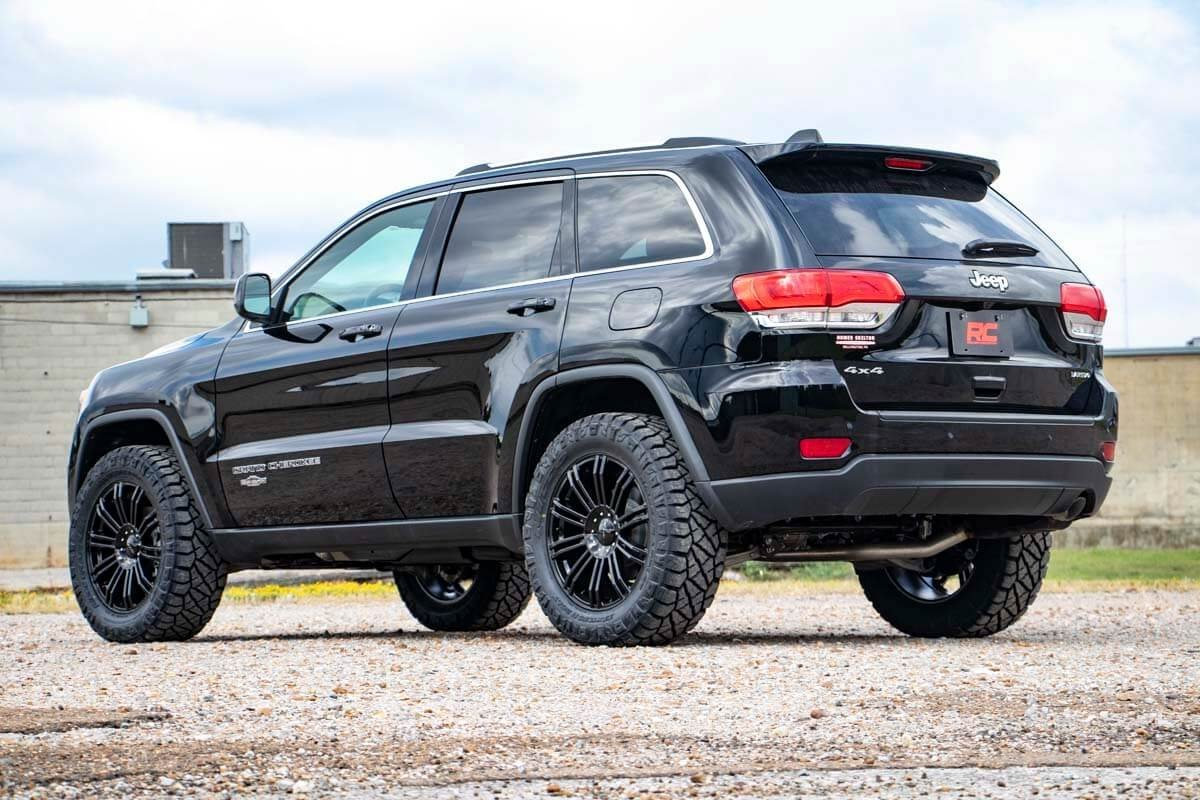
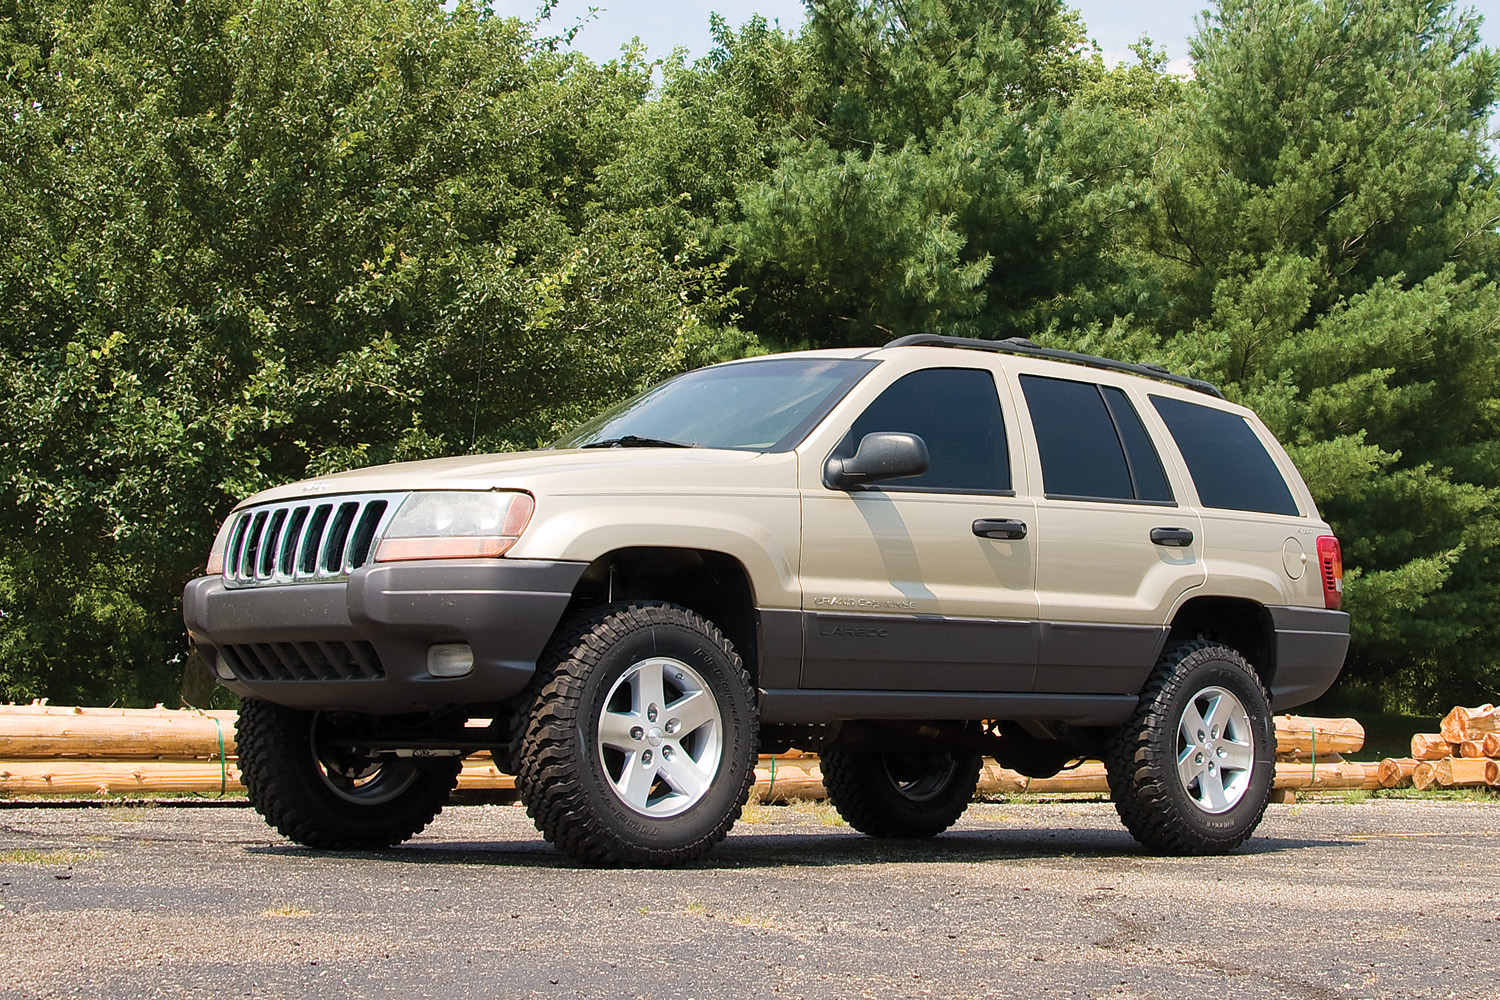
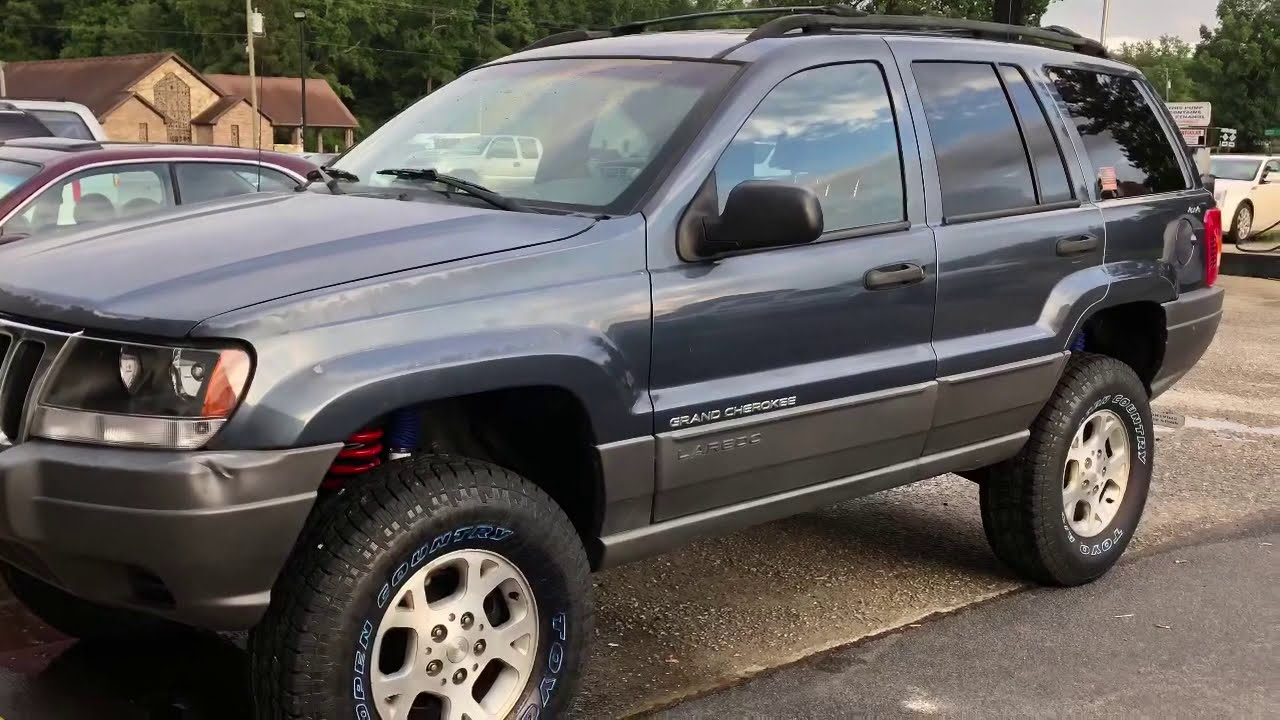
- Aggressive Aesthetics: There’s no denying the visual impact of a lifted Grand Cherokee. It gives the vehicle a more commanding, rugged, and capable appearance, perfectly aligning with its adventurous spirit.
Understanding Lift Kit Types for the WJ
Lift kits for the 1999 Grand Cherokee come in various forms, each offering different levels of performance, complexity, and cost:
-
Budget Boost/Spacer Lifts (0.5" – 2"):
- Description: These kits use polyurethane or metal spacers that sit above the factory coil springs. They are the simplest and most affordable way to gain a small amount of lift.
- Pros: Very inexpensive, relatively easy to install (often a DIY project), maintains factory ride quality (as original coils are retained).
- Cons: Offers no performance improvement beyond increased height, limits tire size increase, stock shocks may be stretched at full droop.
- Ideal For: Mild aesthetic enhancement, clearing slightly larger tires (e.g., 30-31 inches), or light trail use.

-
Coil Spring Lifts (2" – 4.5"):
- Description: These kits replace the factory coil springs with longer, often stiffer, aftermarket coils. They typically include new, longer shock absorbers designed to accommodate the increased travel. At higher ends of this range (3.5" and up), additional components like adjustable track bars, longer control arms, and extended brake lines become necessary.
- Pros: Significant improvement in articulation and off-road capability, allows for larger tires (31-32 inches commonly), and can offer a refined ride quality with quality shocks.
- Cons: More expensive and complex to install than spacer lifts, requires alignment post-installation, higher lifts may introduce driveline vibrations or steering issues if not properly addressed.
- Ideal For: Enthusiasts seeking a balanced lift for moderate to serious off-roading while maintaining good daily drivability.
-
Long Arm Kits (4.5"+):
- Description: Designed for serious off-roaders, long arm kits replace the factory short control arms with much longer ones, relocating their frame-side mounting points further back. This dramatically flattens the control arm angles, improving articulation, reducing harshness over bumps, and better managing driveline angles at extreme lift heights.
- Pros: Unmatched articulation, superior ride quality over rough terrain, excellent driveline angle correction.
- Cons: Most expensive option, highly complex installation (often requires welding and cutting of factory mounts), can impact ground clearance slightly at the control arm mounts.
- Ideal For: Dedicated rock crawlers and extreme off-roaders who demand maximum performance and are willing to invest significantly.
Key Components of a WJ Lift Kit
A comprehensive lift kit for your 1999 Grand Cherokee will include several critical components, depending on the lift height and type:
- Coil Springs: The primary component for lift, replacing stock coils with longer ones.
- Shock Absorbers: Longer, often performance-tuned shocks are essential to control the extended suspension travel.
- Control Arms (Upper & Lower): These connect the axles to the frame. At lifts over 2-3 inches, adjustable control arms are crucial for correcting caster angle (which affects steering stability) and pinion angle (which affects driveline vibrations).
- Track Bar (Front & Rear): This bar centers the axle under the vehicle. With a lift, the stock track bar becomes too short, pulling the axle to one side. An adjustable track bar is required to re-center it and prevent "bump steer" or "death wobble."
- Sway Bar Links: Extended sway bar links are needed to prevent the sway bar from binding or inverting at full droop.
- Brake Line Extensions/Longer Lines: Crucial to prevent stretching or rupturing of brake lines when the suspension fully extends.
- Bump Stop Extensions: These prevent the tires from rubbing the fenders at full compression and protect the shocks from bottoming out.
- Transfer Case Drop Kit (Optional/Low Lifts): A common, though not ideal, solution for driveline vibrations at 2-3 inch lifts. It slightly lowers the transfer case, improving driveline angle, but sacrifices ground clearance.
- Adjustable Pinion Shims/Double Cardan Driveshaft (Higher Lifts): For lifts 3.5 inches and above, correcting the rear driveline angle is often necessary to eliminate vibrations. This may involve adjustable control arms, pinion shims, or, for optimal performance, a slip yoke eliminator (SYE) kit with a double cardan (CV) driveshaft.
Choosing the Right Lift Height and Tire Size
Selecting the appropriate lift height is crucial and depends heavily on your intended use:
- 2" Lift: Ideal for light trails, daily driving, and fitting 30-31" tires with minimal rubbing. Requires new shocks and possibly extended sway bar links.
- 3" – 4" Lift: A popular sweet spot for a balance of capability and daily drivability. Accommodates 31-32" tires easily, with some 33" tires possible with minor trimming. This range typically requires adjustable track bars, extended brake lines, and often adjustable control arms to maintain proper geometry.
- 4.5" – 6.5"+ Lift: For serious off-roading and larger tires (33" and up). This level usually necessitates long arm kits, significant driveline correction (SYE/CV driveshaft), heavy-duty steering components, and potentially fender trimming. Daily driving characteristics will be more impacted.
Installation: What to Expect
Installing a lift kit can range from a straightforward weekend project to a multi-day endeavor requiring specialized tools and skills.
- DIY vs. Professional: A 2-inch spacer lift is often a feasible DIY project for mechanically inclined individuals with basic tools. Coil lifts (3-4 inches) are more involved but still DIY-able with patience, a good set of tools (including a jack, jack stands, torque wrench, and possibly spring compressors), and a service manual. Long arm kits are best left to experienced fabricators or professional shops due to welding requirements and precise measurements.
- Tools Required: Basic hand tools (wrenches, sockets, ratchets), torque wrench, jack, sturdy jack stands, penetrating oil, possibly a grinder or cut-off wheel, and potentially a spring compressor (though many coil lifts can be installed without one).
- Time Commitment: A 2-inch spacer lift might take 4-8 hours. A 3-4 inch coil lift can be 1-2 full days. Long arm kits can take several days to a week.
- Post-Installation:
- Alignment: Absolutely critical! A professional alignment shop must correct caster, camber, and toe after any lift. Incorrect alignment can lead to poor handling, tire wear, and the dreaded "death wobble."
- Driveline Angles: After the lift, check for vibrations, especially during acceleration. These are often caused by incorrect pinion angle. Solutions range from transfer case drops (for minor issues) to adjustable control arms or an SYE/CV driveshaft for higher lifts.
- Steering Correction: For higher lifts and larger tires, upgrading steering components (e.g., a stronger tie rod, drag link, or steering box brace) may be necessary to maintain precise steering and prevent wear.
- Test Drive: Take a cautious test drive, listening for unusual noises, checking brake feel, and assessing steering response.
Common Challenges and Solutions
Lifting a WJ can introduce a few common challenges, but most have well-known solutions:
- Death Wobble: A violent, uncontrollable shaking of the front end. This is often caused by worn steering components (tie rod ends, drag link ends, ball joints), incorrect caster angle, or an improperly aligned or worn track bar. The solution involves diagnosing and replacing worn parts, ensuring correct alignment, and potentially upgrading the track bar and steering stabilizer.
- Driveline Vibrations: A humming or shaking sensation, especially at certain speeds. Caused by incorrect driveline angles. Solutions include transfer case drops (for minor lifts), adjustable control arms to set pinion angle, or a slip yoke eliminator (SYE) kit with a double cardan driveshaft for significant lifts.
- Steering Issues: Loose steering, bump steer (steering wheel jerks over bumps). Often addressed by correcting alignment, ensuring all steering components are tight and in good condition, and potentially upgrading to heavier-duty steering linkages.
- Tire Rubbing: Tires rubbing against fenders or inner wheel wells, especially during turns or suspension compression. Solutions include bump stop extensions, trimming the fenders (cutting plastic/metal), or choosing wheels with appropriate backspacing.
Practical Advice and Actionable Insights
- Define Your Goal: Before buying, determine your primary use. Is it a daily driver that sees occasional trails, or a dedicated off-road rig? This will dictate the appropriate lift height and kit type.
- Budget Wisely: Don’t just factor in the lift kit cost. Include installation (if professional), alignment, new tires, and potentially re-gearing if you go with very large tires. Skimping on critical components can lead to costly problems down the road.
- Research Thoroughly: Read forums (JeepForum, NAXJA), watch installation videos, and compare different brands and their reputations. Learn from others’ experiences.
- Consider Associated Costs: Larger tires often necessitate re-gearing the axles to restore power and fuel economy, especially with the 4.0L engine. Stronger axle shafts might also be a consideration for aggressive off-roading.
- Start Small: You can always go bigger later. A 2-3 inch lift is an excellent starting point that offers significant improvement without requiring extensive modifications.
- Don’t Forget Maintenance: After installation, regularly check the torque specs on all bolts, especially after the first few hundred miles, and inspect components for wear.
Price Table: 1999 Jeep Grand Cherokee Lift Kit Options
| Type of Lift Kit | Lift Height (approx.) | Key Components Included | Estimated Price Range (USD) | Notes