
2002 Jeep Grand Cherokee Bumper: A Comprehensive Guide to Protection, Aesthetics, and Upgrades
2002 Jeep Grand Cherokee Bumper: A Comprehensive Guide to Protection, Aesthetics, and Upgrades jeeps.truckstrend.com
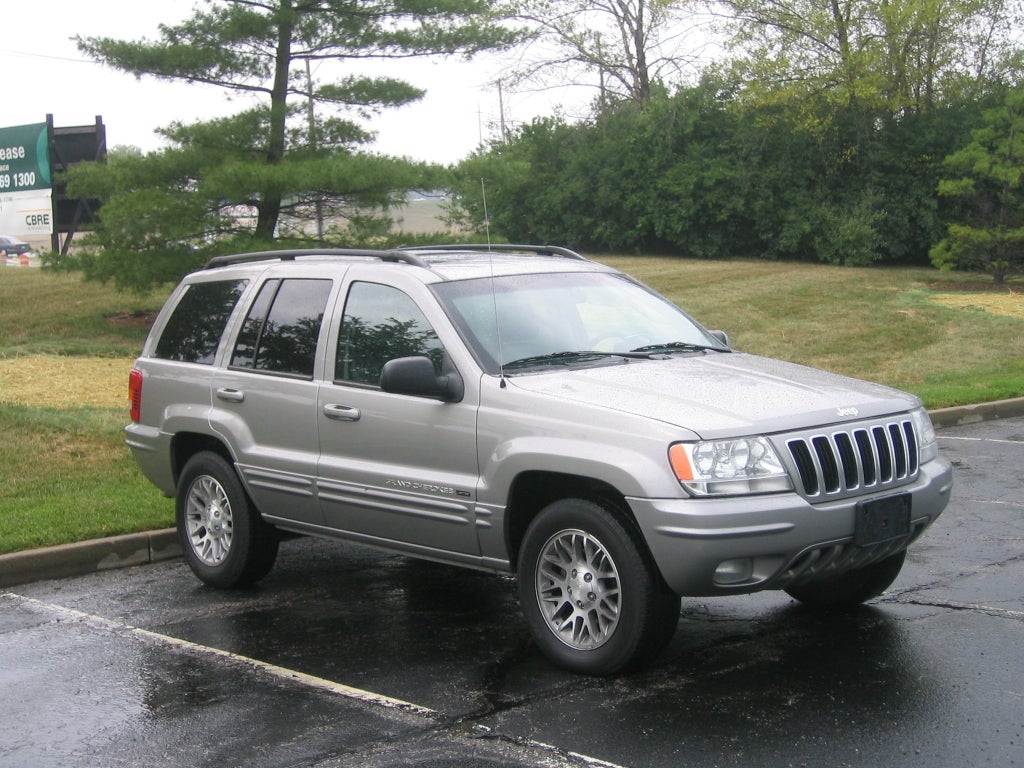
The 2002 Jeep Grand Cherokee, part of the iconic WJ generation (1999-2004), remains a beloved and capable SUV known for its blend of off-road prowess and on-road comfort. Central to its design, safety, and aesthetic appeal is its bumper system. Far more than just a cosmetic trim, the bumpers on a 2002 Grand Cherokee are critical components for protecting the vehicle’s occupants and vital internal systems in the event of a collision, absorbing impact energy, and defining the vehicle’s rugged yet refined character. Whether you’re dealing with damage, seeking an upgrade, or simply curious about these essential parts, understanding the intricacies of the 2002 Jeep Grand Cherokee bumper is key to maintaining your WJ’s integrity and value.
This comprehensive guide will delve into every aspect of the 2002 Jeep Grand Cherokee bumper, from its original design and common issues to repair strategies, replacement options, and exciting aftermarket upgrades.
2002 Jeep Grand Cherokee Bumper: A Comprehensive Guide to Protection, Aesthetics, and Upgrades
Understanding the 2002 Jeep Grand Cherokee Bumper Design (Front & Rear)
The bumpers of the 2002 Jeep Grand Cherokee were engineered to strike a balance between aesthetics, pedestrian safety, and low-speed impact protection.
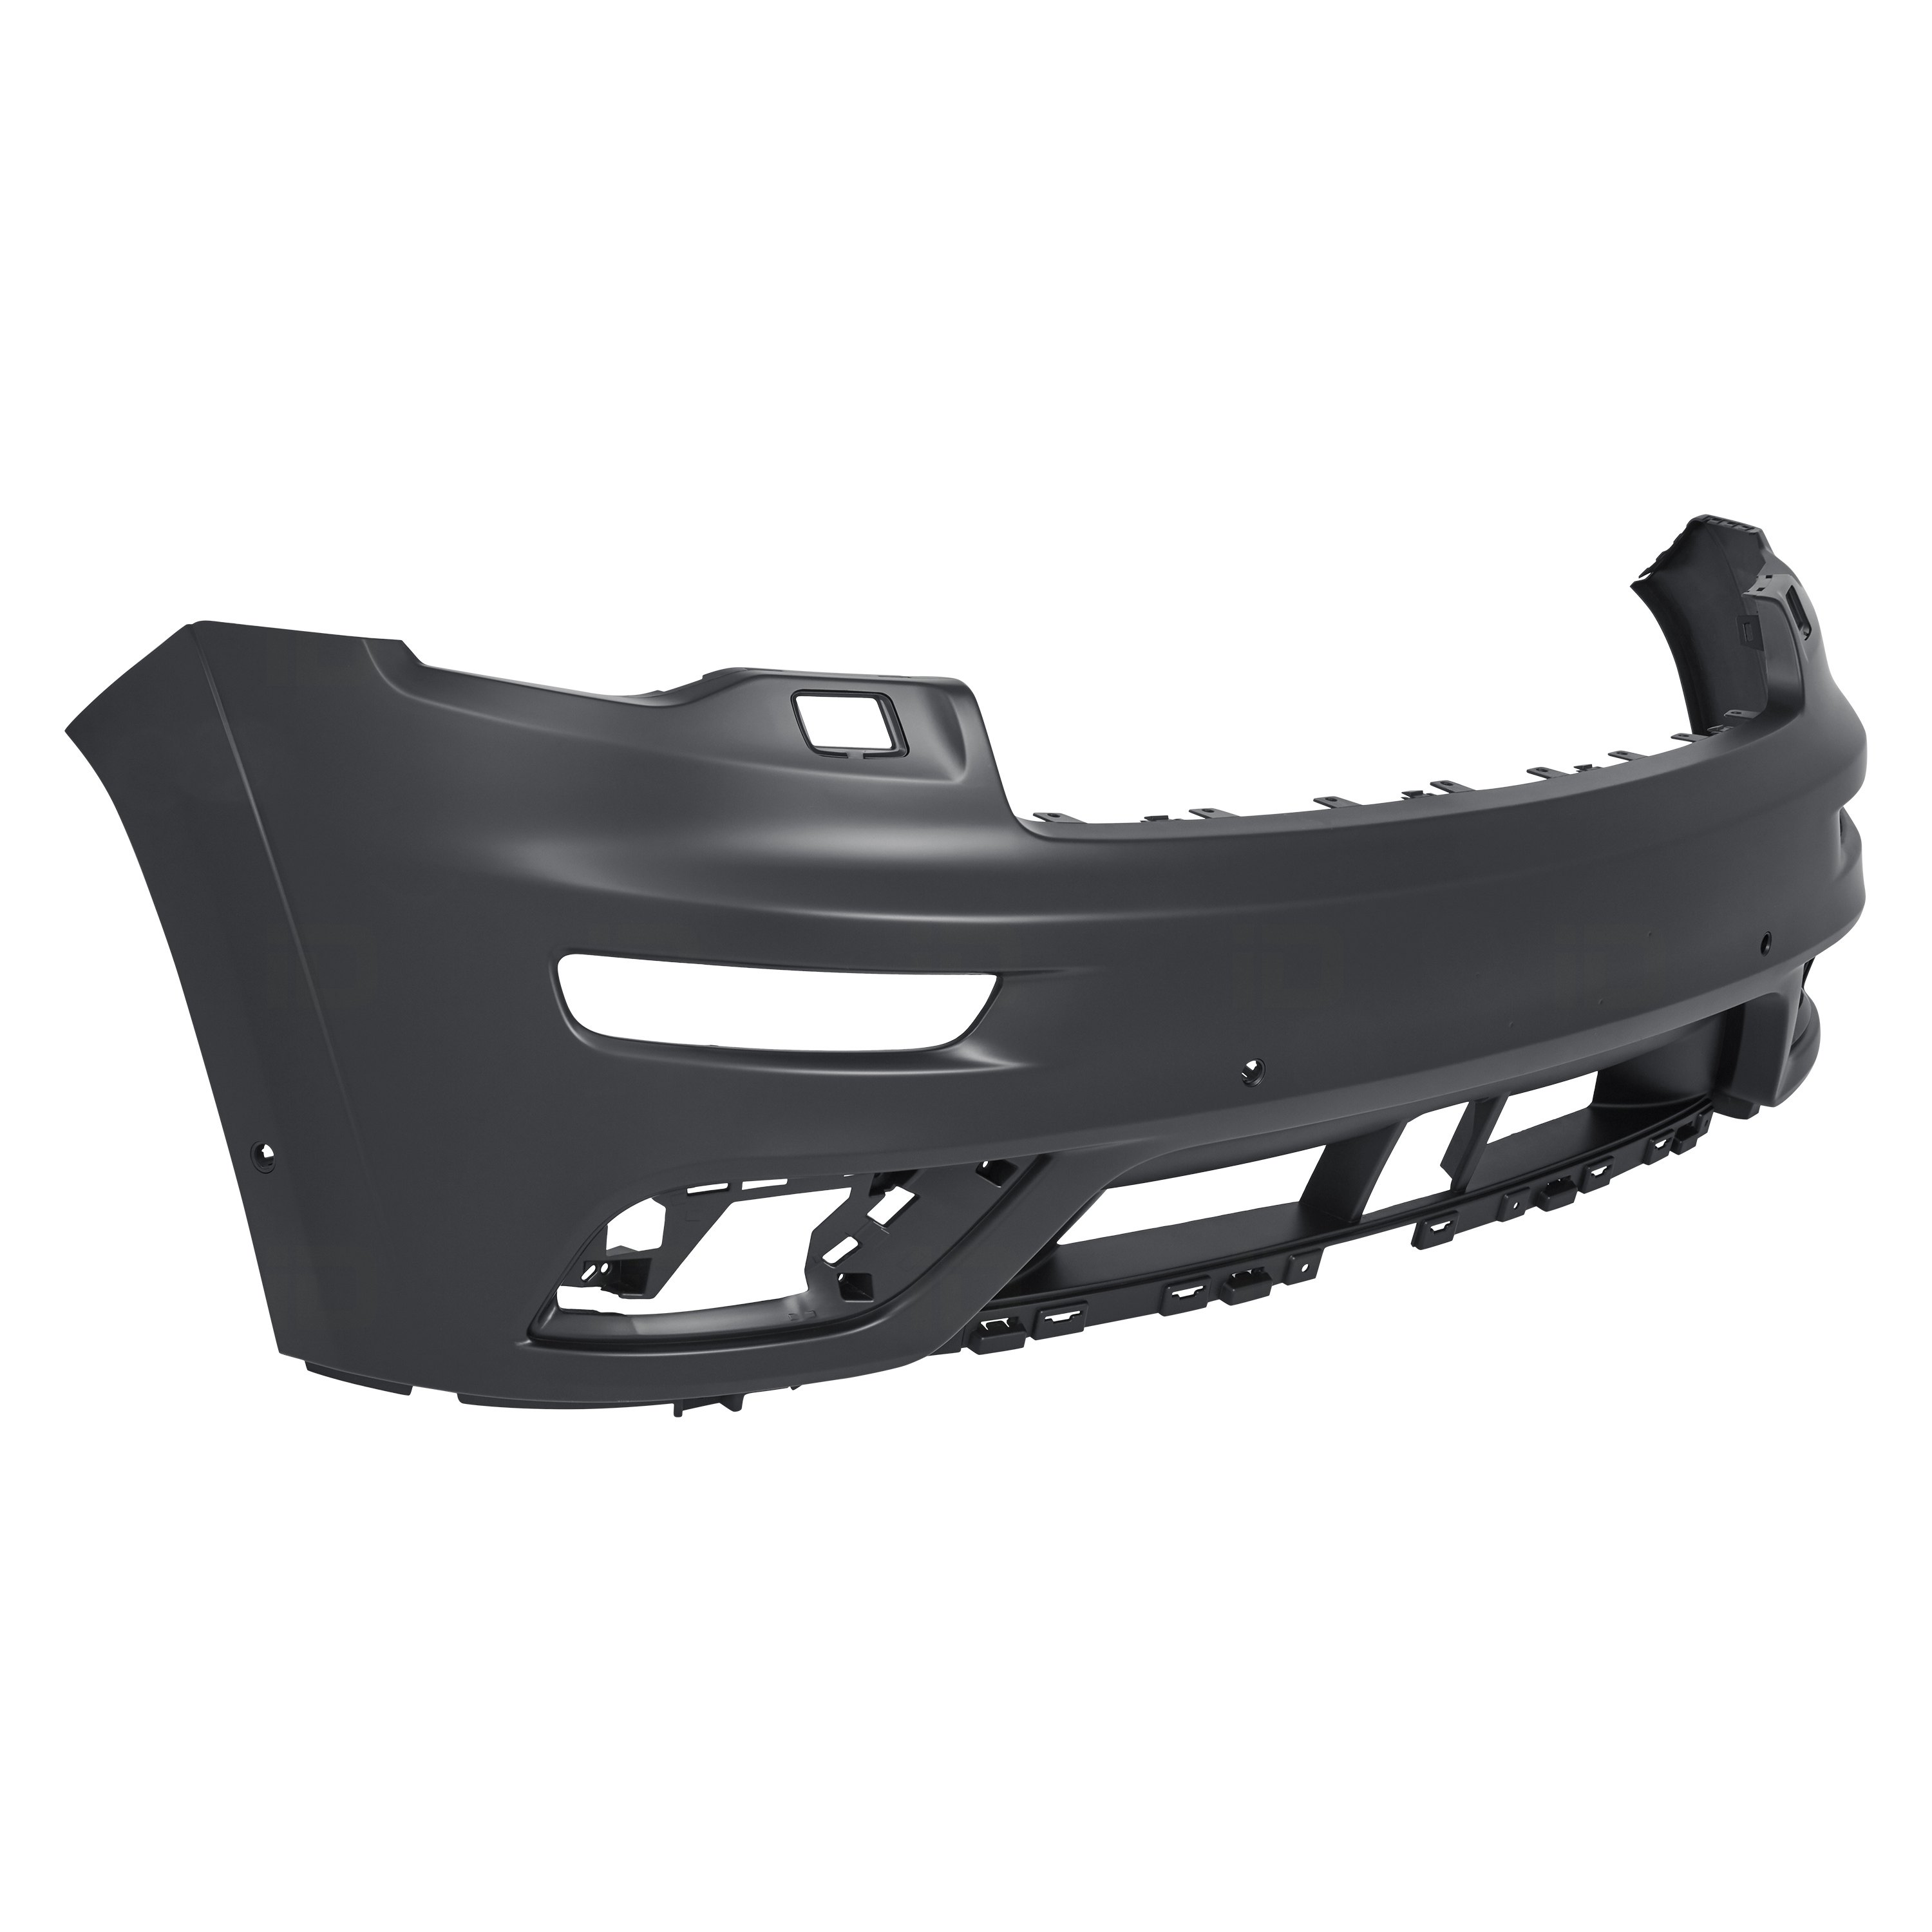
Front Bumper
The front bumper of the 2002 WJ Grand Cherokee is primarily constructed from a durable, high-impact plastic (polypropylene or similar composite) shell, reinforced by a steel impact beam or rebar located behind the plastic cover. This design allows the plastic shell to absorb minor impacts and resist scuffs, while the steel beam provides structural integrity for more significant collisions. The front bumper seamlessly integrates with the vehicle’s front fascia, often incorporating:
- Fog Light Openings: Depending on the trim level (Laredo, Limited, Overland), these openings would house integrated fog lights, enhancing visibility in adverse weather.
- License Plate Mount: A designated area for front license plate attachment.
- Tow Hook Cutouts: Some models or aftermarket additions might utilize cutouts for factory or aftermarket tow hooks, essential for recovery operations.
The design flows smoothly from the grille, contributing to the WJ’s aerodynamic profile and distinctive look. Trim levels often dictated the finish, with base models potentially having unpainted black plastic lower sections and higher trims featuring fully painted bumpers to match the body color.
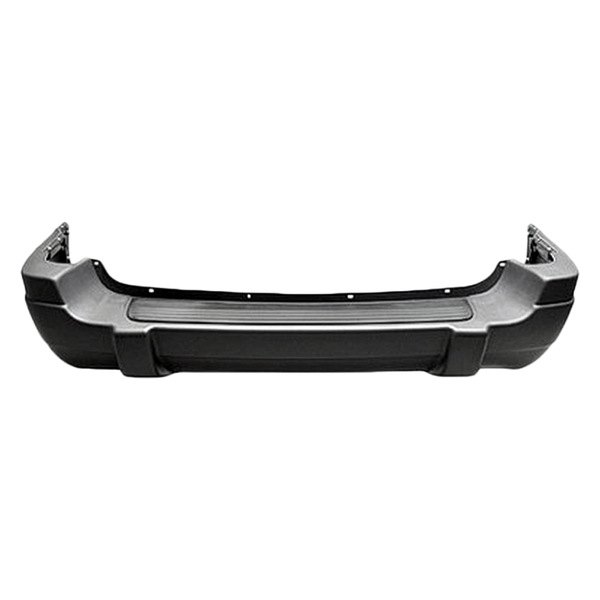
Rear Bumper
Similarly, the rear bumper of the 2002 Grand Cherokee utilizes a reinforced plastic shell over a steel impact beam. Its design accounts for the specific demands of a rear impact, as well as providing functional elements:
- Integrated Step Pad: A textured top surface often acts as a step for accessing the roof rack or cargo area.
- License Plate Recess and Lights: A well-defined recess for the rear license plate, illuminated by dedicated lights.
- Exhaust Cutouts: Designed to accommodate the vehicle’s exhaust tailpipe(s).
- Trailer Hitch Access: While the hitch itself is typically mounted directly to the frame, the bumper design allows for its integration and often provides protection for it.
The rear bumper also features reflectors or integrated taillight extensions, contributing to rear visibility and safety. Both front and rear bumpers are mounted to the vehicle’s frame via robust steel brackets, designed to crumple predictably in a severe impact to absorb energy.
Common Issues and Damage Scenarios
Despite their robust design, the bumpers of a 2002 Jeep Grand Cherokee are highly susceptible to damage due due to their exposed position and the materials used. Common issues include:
-
Front Bumper Damage:
- Parking Lot Dings and Scrapes: Low-speed impacts with other vehicles, poles, or curbs are frequent culprits, leading to scuffs, deep scratches, and even cracks in the plastic shell.
- Minor Collisions: Front-end collisions, even at low speeds, can cause the plastic to crack, shatter, or detach from its mounting points. The underlying steel rebar can also bend or deform.
- Off-Road Mishaps: While the Grand Cherokee is capable off-road, factory bumpers are not designed for aggressive rock crawling or trail obstacles. Impacts with rocks, trees, or steep approach/departure angles can cause significant damage.
- Mounting Tab Breakage: The plastic mounting tabs that secure the bumper cover to the fender liners and body can become brittle over time or break during an impact, leading to a loose or misaligned bumper.
-
Rear Bumper Damage:
- Rear-End Collisions: Similar to the front, rear-end impacts can cause extensive cracking, puncturing, or detachment of the plastic cover and bending of the steel rebar.
- Backing into Objects: Garage walls, trees, parking bollards, or even other vehicles often lead to localized damage, scuffs, or cracks.
- Trailer Hitch Impact: If equipped with a hitch, direct impacts to the hitch can transfer force to the bumper, causing localized deformation or cracking around the hitch cutout.
- UV Degradation and Fading: Over years of exposure to sunlight, the plastic bumper material can degrade, becoming brittle and prone to cracking. Painted bumpers can suffer from clear coat failure, fading, and paint peeling, especially on the top surface.
-
Mounting Hardware Issues: Bolts and nuts securing the bumper to the frame can rust, seize, or become loose over time, compromising the bumper’s secure attachment.
Repairing vs. Replacing Your 2002 Grand Cherokee Bumper
Deciding whether to repair or replace a damaged bumper depends on the extent of the damage, your budget, and your desired outcome.
Repair
- When Feasible: Minor scuffs, light scratches, small cracks (less than a few inches), or localized dents in the plastic.
- DIY Options: For very minor issues, touch-up paint, polishing compounds, or plastic repair kits (using epoxy or heat welding for cracks) can be effective.
- Professional Repair: Body shops can skillfully repair and repaint plastic bumpers, often making the damage virtually undetectable. This is a cost-effective solution for moderate damage where the structural integrity of the steel rebar is not compromised.
- Benefits: Lower cost than full replacement, retains original OEM part, environmentally friendlier.
Replacement
- When Necessary: Extensive cracking or shattering of the plastic, significant deformation of the steel impact beam, large missing sections, or if the bumper is completely detached and beyond repair.
- OEM Replacement: Offers a direct fit, identical appearance to the original, and peace of mind regarding quality and safety standards. Typically the most expensive option.
- Aftermarket Replacement (OEM-Style): Numerous manufacturers produce direct-fit replacement bumper covers designed to mimic the OEM appearance. These are often more affordable than genuine OEM parts. Quality can vary, so research is important.
- Benefits: Restores the bumper to a like-new condition, ensures maximum safety in future impacts, provides an opportunity for aesthetic upgrades.
Types of Aftermarket Bumpers for the 2002 WJ Grand Cherokee
For owners looking beyond a simple OEM replacement, the aftermarket offers a wide array of bumper options, particularly for the off-road enthusiast.
-
OEM-Style Replacement Bumpers: These are designed to be direct replacements for the factory plastic bumper cover. They look identical to the original and are usually made from similar plastic composites. They are ideal for restoring the original appearance after a collision without the OEM price tag. Many come unpainted, requiring professional painting to match your vehicle’s color.
-
Off-Road/Heavy-Duty Steel Bumpers: This is a popular upgrade for WJ owners who take their Grand Cherokees off-road. These bumpers are constructed from thick steel plate or tubing, offering significantly enhanced protection against impacts with rocks, trees, and other obstacles.
- Features: Often include integrated winch mounts, reinforced D-ring recovery points, enhanced approach/departure angles (by being tucked closer to the body), provisions for auxiliary lighting (e.g., light bar mounts), and sometimes even integrated skid plates.
- Popular Brands: Companies like ARB, Smittybilt, Rough Country, and Rusty’s Offroad offer various designs for the WJ.
- Considerations: Much heavier than stock, which can affect suspension (requiring stiffer springs) and slightly impact fuel economy. Installation can be more involved.
-
Custom/Fabricated Bumpers: For the ultimate in customization and extreme off-road use, some enthusiasts opt for custom-fabricated bumpers. These are usually built by specialized shops or skilled welders to meet specific aesthetic or functional requirements, often incorporating unique designs or features not found in mass-produced options.
-
Aesthetic Upgrades: Some aftermarket options focus purely on appearance, offering different finishes (e.g., chrome accents, textured black plastic), or slightly modified designs that give the WJ a more aggressive or unique look without necessarily being "heavy-duty."
Step-by-Step Guide: Replacing a 2002 Jeep Grand Cherokee Bumper (General Overview)
Replacing a bumper can be a DIY project for those with some mechanical aptitude. This is a general guide; always consult your vehicle’s service manual for specific fastener locations and torque specifications.
Tools Required:
- Socket wrench set (metric, usually 10mm, 13mm, 15mm)
- Screwdriver set (Phillips and flathead)
- Plastic trim removal tools
- Pliers
- Flashlight
- Safety glasses
- Jack and jack stands (optional, but helpful for better access)
Preparation:
- Safety First: Park the vehicle on a flat, level surface. Engage the parking brake. If working on the front bumper and near electricals, consider disconnecting the negative battery terminal.
- Gather Parts: Ensure you have the new bumper cover, any necessary mounting clips, bolts, or retainers.
- Clean Area: Clean the area around the bumper to prevent dirt from falling into unwanted places.
Front Bumper Removal:
- Remove Grille (if necessary): Some bumper designs require the grille to be removed first. This usually involves a few clips or screws at the top.
- Remove Wheel Well Liners: Partially unfasten or remove the front sections of the plastic wheel well liners. This often reveals bolts securing the bumper to the fenders.
- Locate Bumper Mounts:
- Top: Look for bolts or clips along the top edge of the bumper, often under the hood or behind the grille.
- Sides: Bolts or screws securing the bumper to the fender, usually accessible through the wheel wells.
- Bottom: Bolts or clips along the bottom edge, often securing it to the frame or splash shield.
- Disconnect Electricals: If equipped, unplug the fog light harnesses.
- Carefully Remove Bumper: With all fasteners removed, gently pull the bumper cover away from the vehicle. It may require a slight wiggle to free it from any remaining clips. Have a soft blanket or cardboard ready to place the bumper on to prevent damage.
Rear Bumper Removal:
- Remove Tail Lights (if necessary): Some rear bumper designs require the tail lights to be removed to access mounting bolts. These are typically held by a few screws inside the cargo area.
- Access Inner Fender Area: You may need to remove or partially unfasten interior trim panels in the cargo area to access bolts securing the bumper from the inside.
- Locate Bumper Mounts:
- Top: Often under the tailgate seal or behind the taillights.
- Sides: Similar to the front, accessible through the wheel wells or from underneath.
- Bottom: Bolts securing the bumper to the frame or hitch area.
- Carefully Remove Bumper: Once all fasteners are loose, carefully slide the bumper cover away from the vehicle.
Installation (Reverse of Removal):
- Test Fit: Before fully securing, test fit the new bumper to ensure proper alignment.
- Reconnect Electricals: Plug in any fog lights or license plate lights.
- Align and Secure: Carefully align the new bumper with the mounting points. Start by loosely threading all bolts, then progressively tighten them. Ensure all clips snap into place.
- Reinstall Liners and Grille/Tail Lights: Reattach all removed components.
- Final Check: Verify that the bumper is securely fastened and aligned properly. Test all lights.
Tips for Success:
- Get Help: A second pair of hands makes bumper removal and installation much easier, preventing damage to the new part.
- Take Photos: Document each step of the disassembly process. This will be invaluable during reassembly.
- Organize Fasteners: Keep track of where each bolt, screw, and clip came from. Labeling bags is highly recommended.
- Be Patient: Don’t force anything. If a part isn’t coming off easily, double-check for hidden fasteners.
- Lubricate: A little penetrating oil on stubborn bolts can save a lot of frustration.
Important Considerations When Choosing a Bumper
- Budget: OEM parts are generally the most expensive. Aftermarket plastic replacements offer a good balance of cost and appearance. Heavy-duty steel bumpers are a significant investment.
- Purpose: Are you restoring a daily driver, or building an off-road beast? Your intended use dictates the best bumper type.
- Material: Plastic for lightweight and OEM appearance, steel for maximum protection and durability, aluminum for a lighter-weight heavy-duty option (less common for WJ).
- Weight: Be aware that heavy steel bumpers will add significant weight to your vehicle, potentially affecting ride height, suspension components, and fuel economy. You may need to upgrade your suspension (e.g., stiffer springs or lift kit) to compensate.
- Compatibility: Always confirm that any aftermarket bumper is specifically designed for the 1999-2004 Jeep Grand Cherokee (WJ).
- Installation Difficulty: While OEM-style replacements are relatively straightforward, heavy-duty steel bumpers often require more involved installation, sometimes including cutting of existing components or specialized tools.
- Legal Compliance: Check local regulations regarding bumper extensions, integrated lighting, and vehicle modifications.
Practical Advice and Actionable Insights
- Regular Inspection: Periodically inspect your bumpers for cracks, loose mounting points, or fading. Addressing minor issues early can prevent them from becoming major, costly repairs.
- Protect Your Investment: For plastic bumpers, consider using UV protectants to prevent fading and brittleness. For painted bumpers, regular washing and waxing will preserve the finish.
- Address Damage Promptly: Even a small crack can propagate over time due to vibrations and temperature changes. Repair or replace damaged bumpers to maintain safety and prevent further deterioration.
- Research Before Buying: If considering an aftermarket bumper, read reviews, watch installation videos, and compare features and prices across different brands.
- Professional Help: If you’re unsure about tackling a bumper replacement yourself, or if the underlying impact beam or frame has been damaged, always consult a professional body shop. They have the expertise and equipment to ensure a safe and proper repair.
Conclusion
The bumper on your 2002 Jeep Grand Cherokee is more than just a piece of plastic or metal; it’s a vital component contributing to your vehicle’s safety, structural integrity, and distinctive appearance. Whether you’re looking to repair minor damage, replace a severely compromised unit, or upgrade for enhanced off-road capability, a thorough understanding of the available options and considerations is paramount. By making informed decisions about your WJ’s bumpers, you can ensure your Grand Cherokee remains a reliable, safe, and visually appealing vehicle for years to come, ready for whatever adventure lies ahead.
Price Table: 2002 Jeep Grand Cherokee Bumper Options
Please note: Prices are estimated and can vary significantly based on brand, retailer, material, features, and current market conditions. Installation costs are additional and vary by region and complexity.
| Type of Bumper | Estimated Price Range ($) | Description/Notes |
|---|---|---|
| OEM Front Bumper Cover | $400 – $800+ | Genuine Mopar part. Unpainted, requires professional painting to match vehicle color. Highest quality and exact fit. |
| OEM Rear Bumper Cover | $350 – $750+ | Genuine Mopar part. Unpainted, requires professional painting. Exact fit and finish. |
| Aftermarket Plastic Front Bumper Cover | $150 – $350 | Direct fit replacement for OEM. Unpainted, requires painting. Quality can vary between manufacturers. Good value for restoration. |
| Aftermarket Plastic Rear Bumper Cover | $120 – $300 | Direct fit replacement for OEM. Unpainted, requires painting. Similar quality considerations as front. |
| Aftermarket Steel Off-Road Front Bumper | $500 – $1,500+ | Heavy-duty steel construction. Often includes winch mount, D-ring tabs, auxiliary light provisions. Comes raw steel or powder-coated. Significant weight increase. May require suspension modifications. |
| Aftermarket Steel Off-Road Rear Bumper | $450 – $1,200+ | Heavy-duty steel construction. Often includes D-ring tabs, tire carrier, jerry can mounts, receiver hitch. Comes raw steel or powder-coated. Significant weight increase. |
| Professional Installation (Per Bumper) | $150 – $400+ | Labor cost only. Varies based on shop rates, complexity of removal/installation (e.g., rusted bolts, additional wiring for off-road bumpers), and whether painting is included. |
| Professional Painting (Per Bumper) | $200 – $500+ | For unpainted plastic bumper covers. Price depends on color, paint type (metallic, pearl), and shop rates. Often quoted separately or as part of installation. |
Frequently Asked Questions (FAQ)
Q1: Can I replace my 2002 Jeep Grand Cherokee bumper myself?
A1: Yes, for OEM-style plastic bumper covers, it is a manageable DIY project for someone with basic mechanical skills and tools. Heavy-duty steel bumpers can be more involved due to their weight and potential modifications required, but are still often undertaken by DIY enthusiasts. Always refer to a service manual and consider getting a helper.
Q2: Are aftermarket bumpers better than OEM?
A2: It depends on your definition of "better." OEM-style aftermarket plastic bumpers are typically more affordable than genuine Mopar parts and offer a similar appearance. Heavy-duty steel aftermarket bumpers are significantly "better" in terms of protection and off-road functionality compared to the stock plastic bumper, but they are also much heavier and more expensive, impacting ride quality and fuel economy.
Q3: Will a heavy-duty bumper affect my gas mileage?
A3: Yes, installing a heavy-duty steel bumper will add significant weight to your vehicle (often 100-200+ lbs per bumper). This added weight can lead to a slight decrease in fuel efficiency. The impact is usually modest but noticeable over time.
Q4: Where can I buy a replacement bumper for my 2002 Grand Cherokee?
A4: You can purchase replacement bumpers from various sources:
- Dealerships: For genuine Mopar OEM parts (most expensive).
- Online Auto Parts Retailers: Websites like RockAuto, AutoZone, O’Reilly Auto Parts, CarParts.com, etc., offer aftermarket OEM-style replacements.
- Off-Road Specialty Shops/Websites: For heavy-duty steel bumpers (e.g., Quadratec, Summit Racing, ExtremeTerrain, directly from brands like ARB, Smittybilt, Rough Country).
- Local Auto Body Shops: Can often source and install new bumpers.
- Salvage Yards/Junkyards: For used OEM bumpers, though condition may vary.
Q5: Do I need to paint a new bumper?
A5: Most new replacement bumper covers (both OEM and aftermarket plastic) come unpainted ("primed" or "black"). You will need to have them professionally painted to match your vehicle’s color for a seamless look. Heavy-duty steel bumpers often come with a durable powder-coat finish and usually do not require additional painting unless you want a custom color.
Q6: How long does a bumper replacement take?
A6: For an experienced mechanic, replacing a plastic bumper cover can take 1-3 hours. For a DIY enthusiast, plan for 3-6 hours, especially if you’re taking your time, documenting steps, and encountering stubborn fasteners. Heavy-duty steel bumper installations can sometimes take longer, especially if modifications or wiring for lights are involved.


