How To Remove Jeep Wrangler 2 Door Hardtop: Your Comprehensive Guide to Open-Air Freedom
How To Remove Jeep Wrangler 2 Door Hardtop: Your Comprehensive Guide to Open-Air Freedom jeeps.truckstrend.com
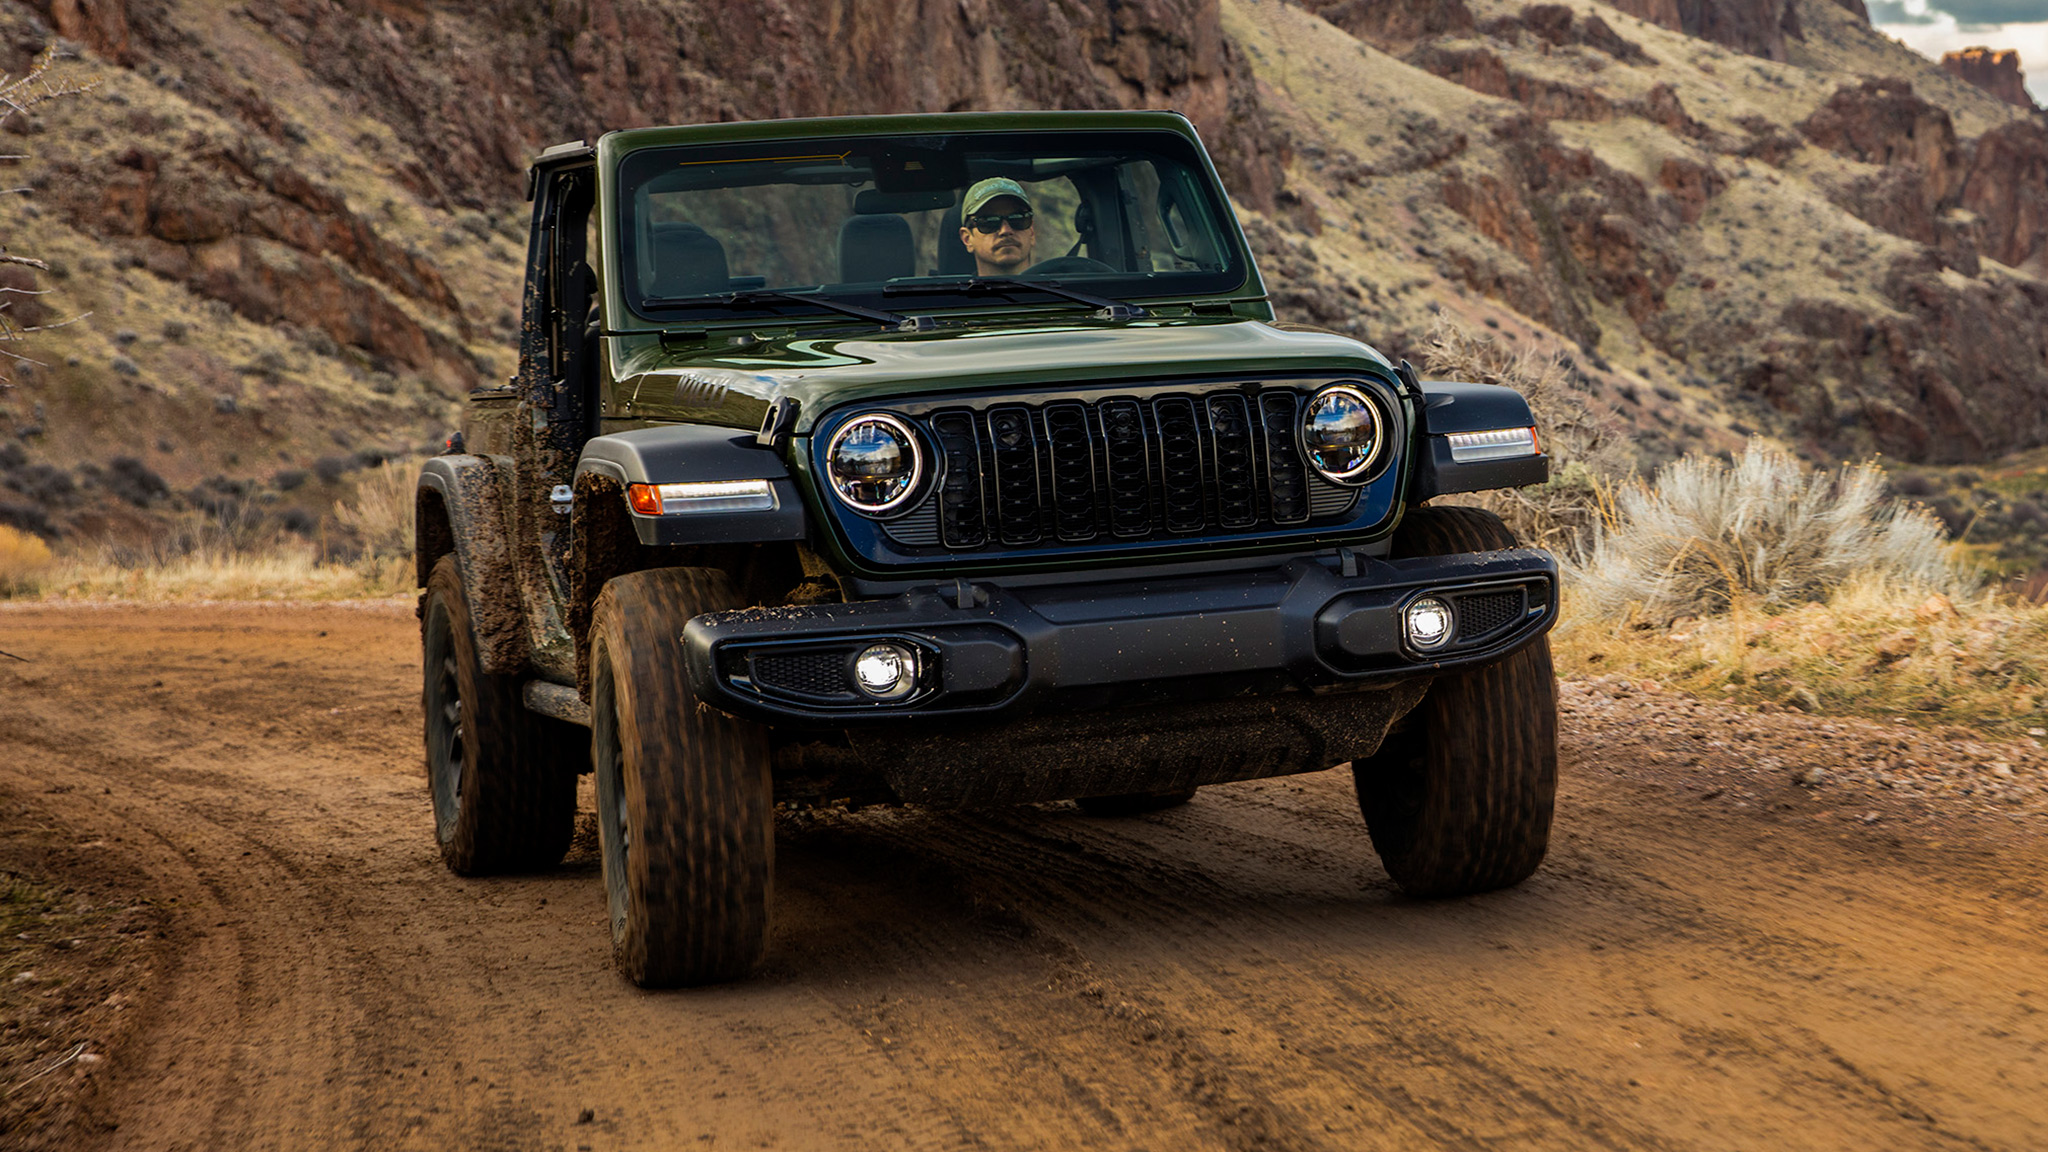
The Jeep Wrangler is synonymous with adventure, rugged capability, and the unparalleled joy of open-air driving. While a hardtop offers security, insulation, and a quieter ride, there comes a time when the call of the wild, the warmth of the sun, or the desire for that iconic wind-in-your-hair experience becomes irresistible. Removing your Jeep Wrangler 2-door hardtop isn’t just a seasonal chore; it’s a ritual, a gateway to a whole new dimension of your Jeep ownership. This comprehensive guide will walk you through every step, ensuring a smooth, safe, and successful hardtop removal, transforming your enclosed cabin into an open-air chariot ready for any adventure.
Preparation is Key: Setting the Stage for Hardtop Removal
How To Remove Jeep Wrangler 2 Door Hardtop: Your Comprehensive Guide to Open-Air Freedom
Before you even think about unbolting anything, proper preparation is paramount. This isn’t just about gathering tools; it’s about ensuring safety, preventing damage to your Jeep or the hardtop, and setting yourself up for an efficient process.
Why Preparation Matters:
- Safety: The hardtop is heavy and awkward. Rushing or lacking the right support can lead to injury.
- Damage Prevention: Scratches to your paint, cracked glass, or damaged seals are easily avoidable with careful planning.
- Efficiency: Having everything ready minimizes downtime and frustration.
Essential Items You’ll Need:

- An Assistant (Crucial!): This is non-negotiable. The 2-door hardtop is heavy (around 100-150 lbs) and unwieldy for one person. Enlist a friend, family member, or neighbor.
- Torx Bit Set: You’ll primarily need a T40 Torx bit. A full set is always good to have for other Jeep projects.
- Ratchet and Extension: To provide leverage and reach for the bolts.
- Container for Bolts: A small tray, magnetic dish, or plastic bag to keep all the bolts together and prevent loss.
- Soft Blankets or Towels: For protecting the hardtop during storage and preventing scratches if it touches the ground.
- Designated Storage Space: A clear, flat, and secure area where the hardtop can be stored safely away from traffic and potential damage. This could be a garage, shed, or a dedicated hardtop hoist area.
- Good Weather: Choose a dry, calm day. You don’t want to be caught in a sudden downpour with an open Jeep.

Pre-Removal Checks:

- Clear the Area: Ensure there’s ample space around your Jeep for easy movement and for safely lifting the hardtop off.
- Empty the Interior: Remove any loose items from the rear cargo area that might get in the way or be damaged.
- Vehicle Position: Park your Jeep on a flat, level surface, preferably in a garage or shaded area if it’s sunny.
Step-by-Step Guide: The Hardtop Removal Process
With your preparations complete and your assistant ready, it’s time to transform your Wrangler. Follow these steps carefully for a smooth removal.
Step 1: Unplugging the Essentials (Electrical & Washer Fluid)
The hardtop is not just a fiberglass shell; it integrates your rear wiper, defroster, and often the third brake light. These need to be disconnected first.
- Locate the Connections: On the driver’s side rear interior of your Jeep, typically behind a small access panel or directly visible, you’ll find the main electrical harness connector. On some models, a separate washer fluid hose might be on the passenger side.
- Disconnect Safely: Gently depress the tab on the electrical connector and pull it apart. For the washer fluid hose, simply pull the two halves apart.
- Secure the Cables: Once disconnected, secure the vehicle’s side of the harness and hose away from the opening to prevent them from getting pinched or damaged when the hardtop is lifted. You can tuck them into a small pocket or use a zip tie.
Step 2: Releasing the Rear Fasteners
These bolts secure the hardtop along the rear sill and tailgate opening.
- Access: Open your tailgate and rear window (if applicable) to gain clear access to the interior rear of the hardtop.
- Identify Bolts: You’ll typically find six Torx bolts (usually T40 size) along the bottom edge of the hardtop, where it meets the body tub, from one side to the other. There might also be two additional bolts near the top corners of the rear window opening on some models.
- Unscrew: Using your T40 Torx bit and ratchet, carefully unscrew all these bolts. Turn counter-clockwise.
- Store Bolts: Immediately place all removed bolts into your designated container. Losing one can be a major headache later.
Step 3: Detaching the Side Bolts
These bolts run along the side rails of the hardtop, securing it to the Jeep’s body.
- Locate: Move to the interior side rails of your hardtop. You’ll typically find three Torx bolts on each side (again, usually T40). These are often located above the rear fender wells and near the rear seatbelts.
- Unscrew: Carefully unscrew these six bolts (three per side).
- Store Bolts: Add these to your container with the rear bolts. It’s helpful to keep them separate if they are different lengths, but often they are interchangeable for the hardtop.
Step 4: Unlatching the Front Freedom Panels (If Applicable or Already Removed)
While the Freedom Panels (the two removable front sections) are usually taken off separately for quick open-air driving, for complete hardtop removal, ensure any remaining front latches are disengaged.
- Check Latches: Ensure all internal latches (usually three per side, plus two over the soundbar) that secure the Freedom Panels are fully open or that the panels themselves have already been removed. For the full hardtop lift, the hardtop is one complete piece after the freedom panels are off, so this step ensures there’s no residual latching. If your 2-door hardtop is a single, non-split unit, simply ensure no front latches are engaging the windshield frame.
Step 5: The Lift-Off – Safe Handling and Storage
This is the most critical step, requiring coordination and careful execution.
- Position Yourselves: Each person should stand on one side of the Jeep, facing the hardtop.
- Grip Points: Grasp the hardtop firmly from the sides, ensuring a balanced grip. Some people prefer to grip the bottom edge, others the window openings. Avoid putting pressure on the rear glass.
- Lift in Unison: On a count of three, slowly and carefully lift the hardtop straight up and off the Jeep. Ensure it clears all roll bar components and the windshield frame. Take your time.
- Move to Storage: With your assistant, carefully walk the hardtop to its designated storage area.
- Safe Storage:
- Flat Surface: The best way to store a hardtop is flat, on its bottom edge, resting on blankets or soft material to prevent scratches. Avoid leaning it against a wall as this can warp the seals or put undue stress on the fiberglass.
- Hardtop Hoist: For garage storage, a dedicated hardtop hoist system (manual or electric) is an excellent investment. It allows one person to remove and store the hardtop suspended from the ceiling.
- Hardtop Cart: A specialized cart allows you to wheel the hardtop around easily once it’s off the Jeep.
- Protection: Cover the hardtop with a soft, breathable cover to protect it from dust, debris, and UV rays while stored.
Important Considerations and Tips for a Smooth Removal
- Patience is a Virtue: Don’t rush any step. A few extra minutes of care can save hours of repair work.
- Bolt Management: Use a system to keep track of your bolts. Some owners even label them (e.g., "rear left," "side middle").
- Seal Inspection: Before reinstalling, inspect the hardtop’s weather seals for cracks, tears, or debris. Clean them and apply a silicone-based lubricant to keep them pliable and ensure a good seal.
- Clean Before Storing: Wipe down the hardtop before putting it away to prevent dirt from grinding into the finish or seals.
- Reinstallation Alignment: When reinstalling, aligning the pins on the hardtop with the holes in the Jeep’s body is crucial. Do not force it. Once aligned, hand-tighten all bolts before using the ratchet for final snugging. Do not overtighten, as this can strip threads or crack the fiberglass.
Common Challenges and Troubleshooting
- Stuck Bolts: If a bolt is unusually tight, try applying a penetrating oil (like PB Blaster) and let it sit for a few minutes. Ensure your Torx bit is fully seated to prevent stripping the bolt head.
- Hardtop Feels Stuck: Double-check that all bolts (rear and sides) and electrical/washer fluid connections are fully disconnected. Sometimes, the seals can stick slightly; a gentle rocking motion of the hardtop (once all bolts are out) can help release it.
- Storage Space: If garage space is limited, consider outdoor storage with a robust, waterproof hardtop cover, but be aware of potential environmental wear. Hoists are excellent for maximizing space.
- Reinstallation Leaks: Most leaks after reinstallation are due to improper alignment, damaged seals, or overtightened/undertightened bolts. Ensure seals are clean and pliable, align the hardtop carefully, and tighten bolts snugly but not excessively. Test with a hose spray before a downpour.
Estimated Costs for Hardtop Removal & Storage
While removing the hardtop yourself is virtually free (minus your time and an assistant’s help), there are potential costs associated with tools and storage solutions that enhance the process.
| Item/Service | Description | Estimated Price Range (USD) | Notes |
|---|---|---|---|
| Basic Tools | Torx Bit Set (T40 specifically), Ratchet, Extension | $20 – $60 | Essential for DIY removal. |
| Hardtop Hoist (Manual) | System to lift and store hardtop from garage ceiling (requires installation) | $150 – $400 | Great for single-person removal/storage, saves floor space. |
| Hardtop Hoist (Electric) | Motorized system for easier lifting and lowering | $400 – $800+ | More convenient, but higher initial cost. |
| Hardtop Cart/Dolly | Wheeled cart for easy movement and storage of hardtop on the ground | $100 – $300 | Useful for moving hardtop once off the Jeep, requires floor space. |
| Soft Blankets/Pads | For protecting hardtop during storage | $10 – $30 | Highly recommended to prevent scratches. |
| Hardtop Cover (Storage) | Breathable, protective cover for stored hardtop | $50 – $150 | Protects from dust, debris, and UV damage when stored. |
| Silicone Lube for Seals | Helps maintain and condition rubber seals, prevents sticking | $5 – $15 | Extends seal life and helps prevent leaks. |
| Professional Removal Service | If you prefer not to do it yourself, some shops offer this service. | $50 – $150 (per removal) | Varies by shop and location. Includes labor and proper handling. |
Prices are estimates and can vary based on brand, quality, and location.
Frequently Asked Questions (FAQ)
Q: Can I remove the Jeep Wrangler 2-door hardtop by myself?
A: It is highly discouraged to attempt this alone. The 2-door hardtop is heavy (100-150 lbs) and awkward. Attempting it solo risks injury to yourself, damage to the hardtop, or scratches to your Jeep’s paint. Always enlist the help of at least one other person.
Q: What specific tools do I need?
A: Primarily, you’ll need a T40 Torx bit, a ratchet, and an extension. A small container for your bolts is also very helpful.
Q: Where do all the bolts go after I remove them?
A: Immediately place them in a designated container (a magnetic dish, plastic bag, or small tray) to prevent them from getting lost. Keep them in a safe place until you’re ready to reinstall the hardtop.
Q: How long does the removal process typically take?
A: With two people and the right tools, the first time might take 20-30 minutes. Once you’re familiar with the process, it can be done in 10-15 minutes.
Q: Will my Jeep leak if I put the hardtop back on?
A: Not if done correctly. Leaks usually occur due to improper alignment, damaged or dirty seals, or bolts that are not tightened properly. Always inspect your seals, clean them, and ensure the hardtop is perfectly aligned before tightening all bolts.
Q: Can I drive my Jeep without the hardtop?
A: Absolutely! That’s the main reason for removing it! Just be mindful of the weather, as your interior will be exposed to rain. You can also install a soft top for convertible convenience.
Q: Do I need to remove the Freedom Panels first?
A: If your 2-door hardtop is designed with removable Freedom Panels, yes, they should be removed first. The main hardtop is then lifted off as a single, larger piece. If your hardtop is a single, non-split unit, there are no Freedom Panels to remove.
Conclusion
Removing the hardtop from your Jeep Wrangler 2-door is more than just a mechanical task; it’s an embrace of the true Jeep spirit. It opens up your world, allowing you to fully immerse yourself in the elements and the joy of off-road (or on-road) exploration. By following this detailed guide, preparing adequately, and exercising caution, you can confidently transform your Wrangler, enjoying the ultimate open-air experience whenever the mood strikes. So, gather your tools, call a friend, and get ready to feel the wind in your hair – your adventure awaits!


