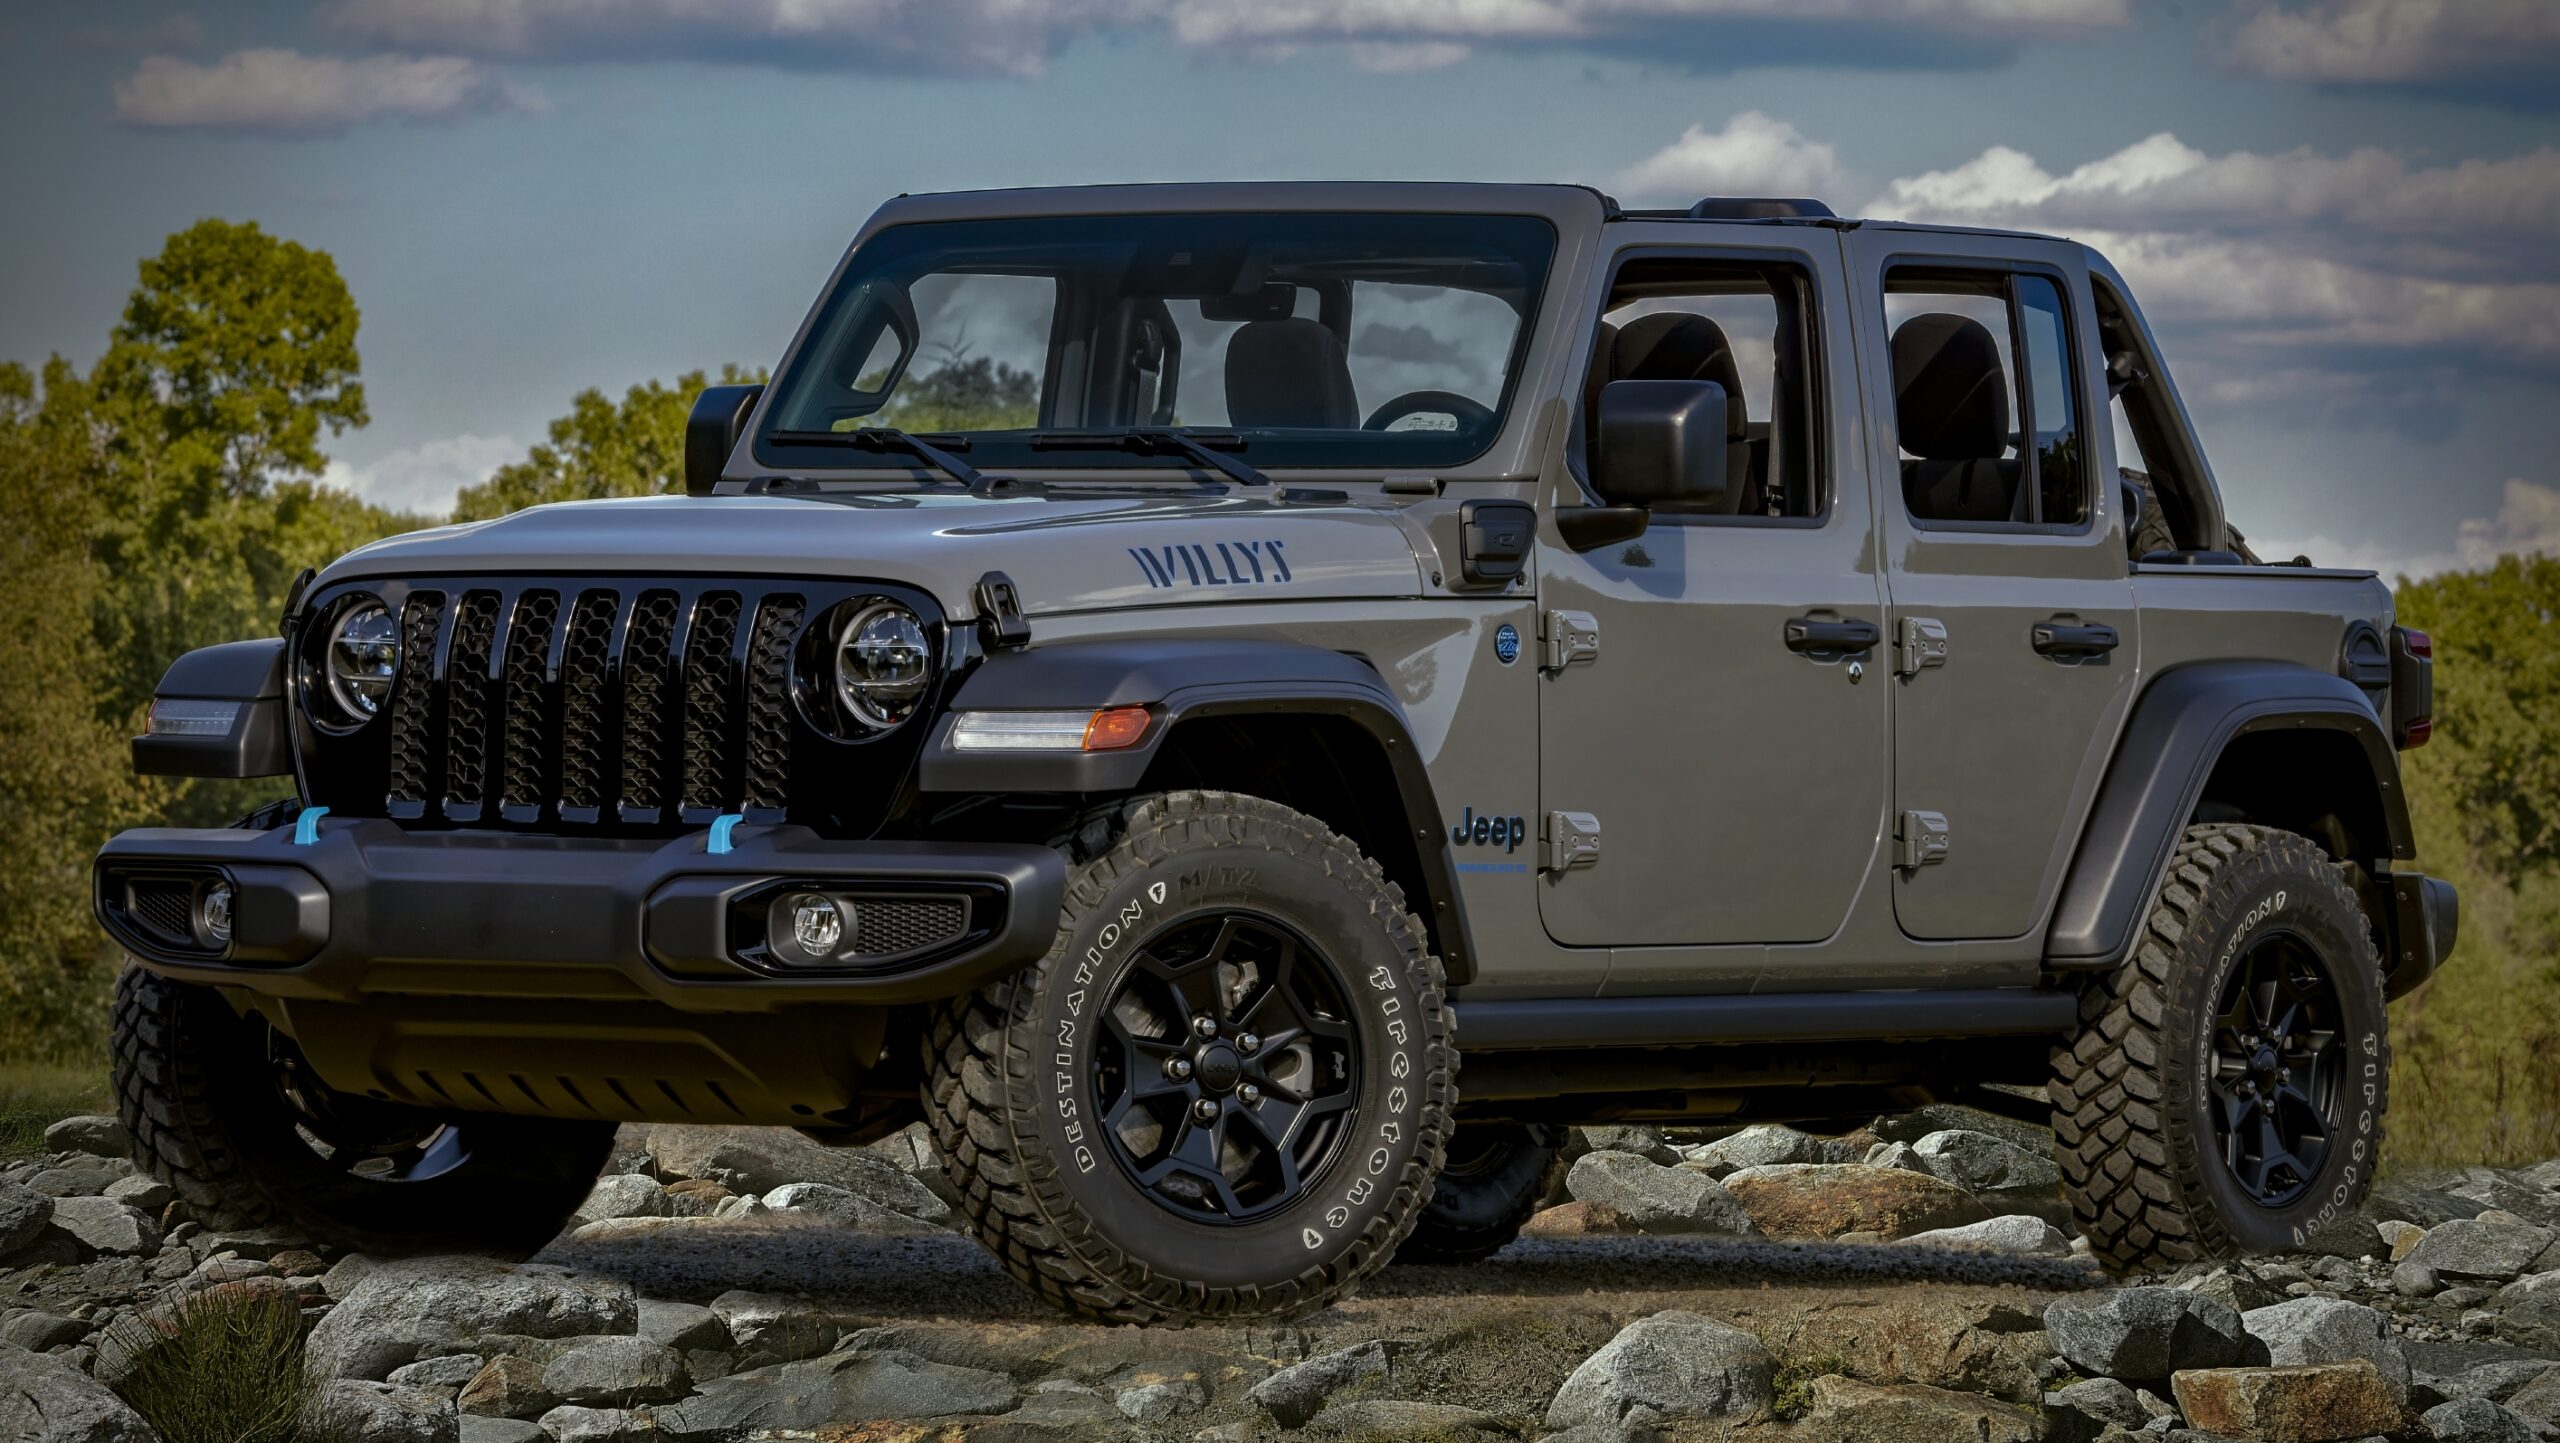
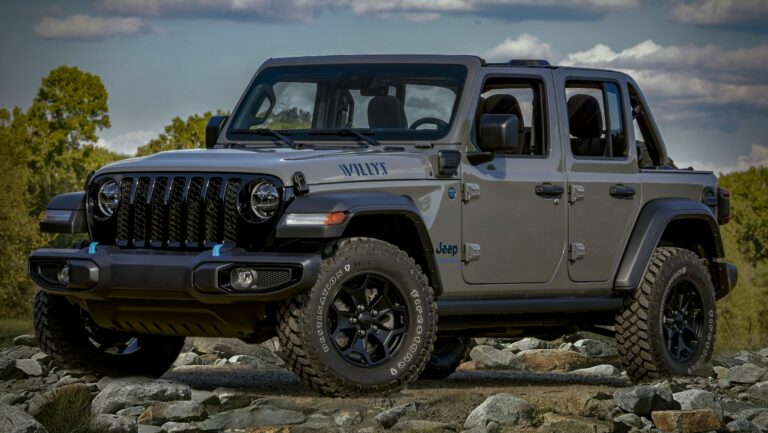
Jeep Wrangler 2 Door Hardtop Removal: Embrace the Open-Air Freedom
Jeep Wrangler 2 Door Hardtop Removal: Embrace the Open-Air Freedom jeeps.truckstrend.com
The Jeep Wrangler is more than just a vehicle; it’s a lifestyle. At the heart of this lifestyle lies the unparalleled freedom of open-air driving, a quintessential experience made possible by the ability to remove its roof. For owners of the iconic 2-door Jeep Wrangler, hardtop removal is a transformative ritual, converting a rugged SUV into an open-air adventure machine. This comprehensive guide will walk you through every aspect of removing your Jeep Wrangler 2-door hardtop, from understanding its benefits to executing the process flawlessly, ensuring you can fully embrace the exhilarating connection with the world around you.
The Allure of Open-Air Driving: Why Remove Your Jeep Wrangler’s Hardtop?
Jeep Wrangler 2 Door Hardtop Removal: Embrace the Open-Air Freedom
The decision to remove your Jeep Wrangler’s hardtop is rarely just about practicality; it’s about unlocking the very essence of the Jeep experience. The benefits extend far beyond simply letting the sun in:
- Unrivaled Freedom and Sensory Immersion: There’s nothing quite like the feeling of wind in your hair, the sun on your face, and the uninhibited sounds of nature as you drive. It transforms a mundane commute into an exhilarating journey and an off-road trail into an immersive expedition.
- Enhanced Visibility: Without the hardtop, your field of vision expands dramatically, particularly beneficial during off-road excursions where seeing obstacles and terrain clearly is paramount.
- Connection with Nature: Whether you’re cruising along a scenic highway or tackling a challenging trail, the absence of a roof creates an immediate, visceral connection to the environment, making every drive an adventure.
- Iconic Jeep Aesthetic: A topless Wrangler is the classic, quintessential image of the vehicle, instantly recognizable and embodying the spirit of adventure and rugged individualism.
- Seasonal Enjoyment: Hardtop removal allows you to adapt your Jeep to the seasons, making the most of warm weather and sunny days, and easily reinstalling it for cooler months or when security and weather protection are priorities.
For many Jeep owners, the ease and satisfaction of hardtop removal are key reasons they choose a Wrangler, making it a central part of their vehicle ownership experience.
Essential Preparations Before Hardtop Removal
Before you begin the process of removing your Jeep Wrangler’s hardtop, proper preparation is crucial for safety, efficiency, and to prevent damage to your vehicle or the hardtop itself.
- Safety First: Enlist a Helper! The 2-door hardtop, while smaller than its 4-door counterpart, is still heavy and awkward. Attempting to remove it solo is highly discouraged and can lead to personal injury or damage to the hardtop. Always plan to have at least one, preferably two, strong helpers.
- Gather Your Tools:
- T50 Torx Bit: This is the primary tool for unscrewing the main hardtop bolts. Ensure it’s a quality, well-fitting bit to prevent stripping the bolt heads.
- Ratchet Wrench: For use with the Torx bit. A longer handle can provide better leverage.
- T40 Torx Bit (for Freedom Panels – JL/JK models): If your hardtop includes removable "Freedom Panels" above the front seats (standard on JK and JL models), you’ll need this for those smaller bolts.
- Designated Storage for Bolts: A small plastic bag or container is invaluable for keeping all bolts together so none get lost.
- Soft Blankets or Pads: Essential for protecting the hardtop once it’s removed and placed on the ground or a storage cart.
- Hardtop Hoist or Cart (Optional but Recommended): For long-term storage or frequent removal, these specialized tools make the process much safer and easier.

- Clear the Area: Park your Jeep on a flat, level surface, preferably in a garage or an area where you have plenty of space around the vehicle to maneuver the hardtop. Ensure there are no obstacles overhead.
- Clear the Vehicle Interior: Remove any loose items from the cargo area or rear seats that might obstruct the hardtop’s removal path or get damaged.
- Check the Weather: While you might be eager for open-air driving, ensure the forecast is clear for at least a few days if you plan to keep the top off.

Step-by-Step Guide: How to Remove Your 2-Door Jeep Wrangler Hardtop
The process is straightforward once you know the steps. While specific bolt locations might vary slightly between generations (TJ, JK, JL), the general procedure remains consistent. This guide focuses on the more common JK and JL models.
Step 1: Remove the Freedom Panels (JK and JL Models)
If your Wrangler has two smaller removable panels above the driver and front passenger, these come off first.
- Unlatch: Flip down the sun visors. On the inside, you’ll find two large latches per panel. Unlatch these.
- Unscrew: There are usually a few thumb screws (or T40 Torx bolts) on the underside of each panel that secure them to the soundbar. Unscrew these completely.
- Lift Off: Carefully lift each panel from the vehicle and place them in a safe, designated spot, ideally in a protective storage bag.
Step 2: Disconnect Rear Electrical and Washer Fluid Lines
Move to the rear of the vehicle.
- Rear Wiper/Washer Hose: On the driver’s side, near the base of the hardtop, locate the rubber hose for the rear washer fluid. Gently pinch the quick-disconnect fitting and pull apart.
- Rear Defroster/Wiper Electrical Connector: Just below the washer hose, you’ll find an electrical connector bundle. This typically has a small red tab that needs to be slid or pressed before you can depress the main clip and pull the connector apart. Be gentle to avoid damaging the pins or clips.
- Secure Loose Ends: Tuck the disconnected vehicle-side wires and hose away to prevent them from getting pinched when the hardtop is removed.
Step 3: Remove the Hardtop Bolts
Now for the main event:
- Locate the Bolts: Depending on your Wrangler generation, there will be 6 to 8 main bolts securing the hardtop.
- JK Models: Typically, two bolts on each side in the rear cargo area (total 4), and two on each side near the B-pillar (total 4). Some models might have only 6.
- JL Models: Similar configuration, usually 6 bolts in total – two in the rear cargo area, and one on each side near the B-pillar, plus the two front ones you already removed if you had freedom panels.
- Unscrew: Using your T50 Torx bit and ratchet, carefully unscrew all the bolts. Place them immediately into your designated bolt storage container. Double-check that all bolts are removed.
Step 4: Lift and Store the Hardtop
This is the most critical step requiring teamwork.
- Position Helpers: Have one helper on each side of the hardtop, positioned securely. If using three people, one can be at the rear.
- Lift Evenly: On the count of three, slowly and carefully lift the hardtop straight up and off the vehicle. Ensure it clears the roll bars and any remaining components. Maintain a level lift to avoid twisting the hardtop.
- Move to Storage: With a steady grip, carry the hardtop to its designated storage location.
- Placement: Carefully lower the hardtop onto soft blankets or pads, or directly onto your hardtop cart or hoist system. Avoid resting it on its edges or corners, as this can cause damage or warping. The best practice is to store it flat or as recommended by your hoist/cart manufacturer.
Congratulations! Your Jeep Wrangler is now ready to offer the ultimate open-air driving experience.
Storing Your Hardtop: Protecting Your Investment
Proper storage of your hardtop is paramount to its longevity and to prevent damage.
- Location: A garage, shed, or covered carport is ideal. Avoid leaving it exposed to the elements for extended periods, as UV rays can fade the finish, and moisture can lead to issues.
- Orientation: Most manufacturers and experts recommend storing the hardtop flat on its bottom edge, similar to how it sits on the Jeep. If using a hoist, ensure it’s suspended evenly to prevent stress points. Avoid resting it on the rear window or side windows.
- Protection:
- Pads/Blankets: Always place soft, clean blankets, moving pads, or foam blocks between the hardtop and the floor or storage surface.
- Hardtop Cart: A specialized hardtop cart (on wheels) allows for easy maneuvering and secure storage. They often include padded contact points.
- Ceiling Hoist System: For those with garage space, a ceiling-mounted hoist is an excellent investment. It lifts the hardtop directly off the Jeep and suspends it overhead, freeing up floor space and making solo removal/reinstallation much more feasible (though still recommended with a spotter).
- Cover: A breathable, waterproof hardtop cover can protect it from dust, scratches, and incidental contact while in storage.
Common Challenges and Troubleshooting
While the process is generally straightforward, some common issues can arise:
- Stuck Bolts: If bolts are difficult to turn, they might be corroded. Apply a penetrating lubricant (like PB Blaster) and let it soak for a while before trying again. Ensure your Torx bit is fully seated to prevent stripping.
- Difficulty with Electrical Connectors: Don’t force them. Look for the release tab or button. Sometimes wiggling gently while pressing the tab helps.
- Hardtop Feels Too Heavy to Lift: This reiterates the need for adequate help. If you’re struggling, stop and get more assistance or consider investing in a hoist.
- Water Leaks After Reinstallation: This is often due to improper alignment, dirty seals, or overtightened/undertightened bolts. Before reinstallation, clean all rubber seals thoroughly with a gentle cleaner and ensure they are free of debris. When reinstalling, tighten bolts snugly but do not overtighten, which can compress the seals too much. Test with a garden hose before a downpour.
Tips for a Smooth Hardtop Removal and Reinstallation
- Practice Makes Perfect: The more often you remove and reinstall the top, the quicker and easier it becomes.
- Keep Bolts Organized: Using a labeled bag for your bolts will save you immense frustration during reinstallation.
- Inspect Seals Regularly: Before reinstallation, quickly inspect the hardtop seals for any cracks, tears, or debris. Clean them if necessary.
- Lubricate Bolts (Optional): A very light coat of anti-seize compound on the bolt threads can prevent them from seizing over time, but use sparingly.
- Reinstallation is the Reverse: When putting the hardtop back on, simply follow these steps in reverse order. Ensure the hardtop is perfectly aligned before lowering it and tightening bolts. Start bolts by hand to avoid cross-threading.
Jeep Wrangler 2 Door Hardtop Removal: Associated Costs
While the act of removal itself doesn’t have a direct "price," there are associated costs for tools, storage, and optional services that enhance the experience.
| Item/Service | Description | Estimated Cost Range (USD) | Notes |
|---|---|---|---|
| Essential Tools | |||
| T50 Torx Bit & Ratchet Set | Required for hardtop bolts. Often part of a larger socket set. | $20 – $70 | Invest in quality tools to prevent stripped bolts. |
| T40 Torx Bit | For Freedom Panel bolts (JK/JL models). | $5 – $20 | Can be purchased individually or in a set. |
| Bolt Storage Container | Small plastic container or bag to keep all bolts together. | $1 – $10 | Highly recommended to prevent lost hardware. |
| Storage Solutions (Optional) | |||
| Hardtop Hoist System | Ceiling-mounted system for lifting and suspending the hardtop. | $150 – $500+ | Manual crank systems are cheaper; electric hoists are more expensive but easier. Requires garage space. |
| Hardtop Storage Cart | Wheeled cart for secure, mobile storage of the hardtop. | $100 – $350 | Protects the hardtop and allows for easy movement in a garage. |
| Hardtop Cover | Breathable, protective cover for the hardtop during storage. | $50 – $150 | Protects from dust, scratches, and UV exposure. |
| Consumables/Maintenance | |||
| Penetrating Lubricant (e.g., PB Blaster) | For freeing stuck or corroded bolts. | $5 – $15 | Good to have on hand, especially for older Jeeps. |
| Seal Cleaner/Conditioner | To clean and maintain rubber seals for optimal water tightness. | $10 – $25 | Helps prevent leaks upon reinstallation. |
| Professional Services (Optional) | |||
| Professional Hardtop Removal/Install | Service at an auto shop or off-road specialty shop. | $50 – $150 (per service) | If you lack tools, space, or assistance, or prefer not to DIY. |
| Miscellaneous | |||
| Friends/Family | The most crucial "tool" for a safe removal! | Priceless | Always have at least one helper. |
Frequently Asked Questions (FAQ)
Q: Can I remove the 2-door hardtop by myself?
A: While the smaller 2-door hardtop is lighter than the 4-door version, it is still very heavy and awkward. Attempting to remove it solo is highly discouraged due to the risk of personal injury and damage to the hardtop or your Jeep. Always enlist at least one, preferably two, strong helpers. Freedom panels can usually be removed by one person.
Q: How long does it take to remove the hardtop?
A: With two people and a little practice, the entire process, including disconnecting electrical and removing bolts, can be completed in 15-30 minutes. The first time might take a bit longer as you familiarize yourself with the steps.
Q: Do I need special tools for hardtop removal?
A: Yes, you primarily need a T50 Torx bit and a ratchet wrench for the main hardtop bolts. If your Jeep has Freedom Panels (JK/JL models), you’ll also need a T40 Torx bit for those smaller bolts. A dedicated place to store the bolts is also highly recommended.
Q: Where is the best place to store my hardtop?
A: The best place is a dry, secure, and protected area like a garage or shed. Store it flat on its bottom edge on soft padding, or use a specialized hardtop storage cart or a ceiling-mounted hoist system to save floor space and ensure proper support.
Q: Will my Jeep leak after putting the hardtop back on?
A: It’s possible if the seals are dirty, damaged, or the hardtop is not perfectly aligned and all bolts are not tightened correctly. To minimize this risk, always clean the rubber seals thoroughly before reinstallation, ensure proper alignment, and tighten all bolts snugly but without overtightening. Test with a gentle water spray after reinstallation.
Q: What about the electrical connections for the rear wiper and defroster?
A: These are typically quick-disconnect plugs. Locate the release tab or button on the connector, press it, and gently pull the two halves apart. Be careful not to pull on the wires themselves. When reinstalling, ensure they click securely back into place.
Q: Is it safe to drive my Jeep without the hardtop?
A: Absolutely! Jeep Wranglers are designed for open-air driving. Ensure that all loose items inside the vehicle are secured to prevent them from flying out. You might also consider a spiderweb shade or bikini top for sun protection while still enjoying the open-air feel.
Conclusion
Removing the 2-door hardtop from your Jeep Wrangler is more than just a mechanical task; it’s an initiation into the true spirit of Jeep ownership. It’s about shedding the confines of the everyday and embracing a unique, uninhibited driving experience that connects you directly with the road, the trail, and the elements. With proper preparation, the right tools, and a little help, this seemingly daunting task becomes a quick, satisfying ritual, transforming your rugged SUV into the ultimate open-air adventure machine. So, gather your gear, enlist a friend, and get ready to experience your Jeep Wrangler in its purest, most exhilarating form. The open road, and sky, await!

